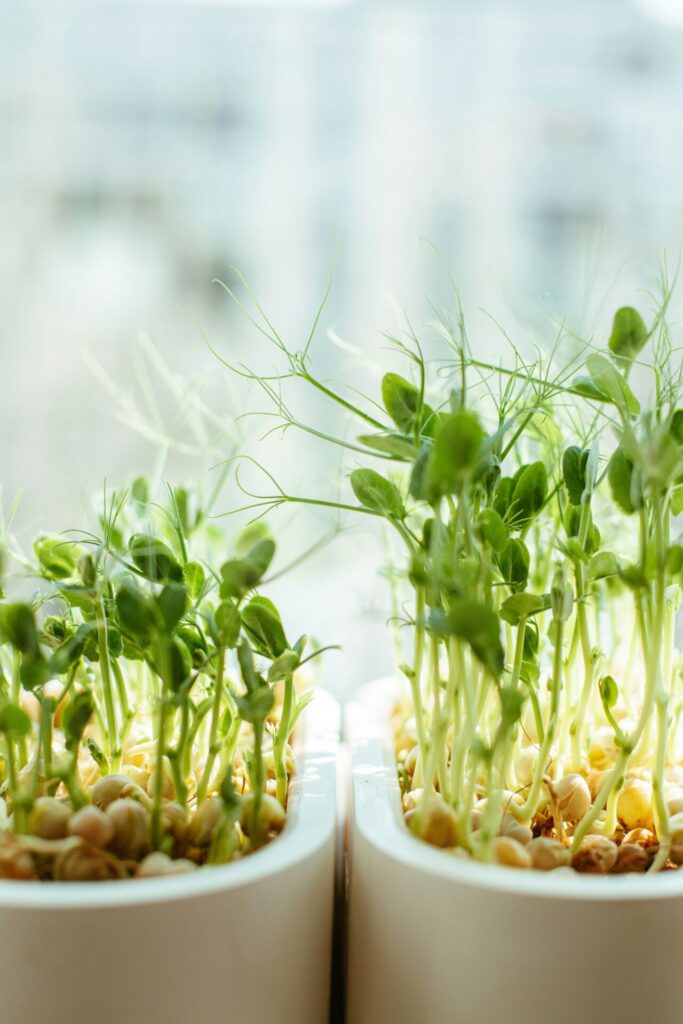
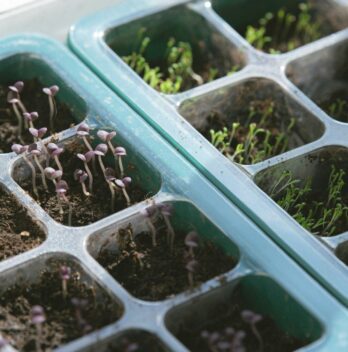
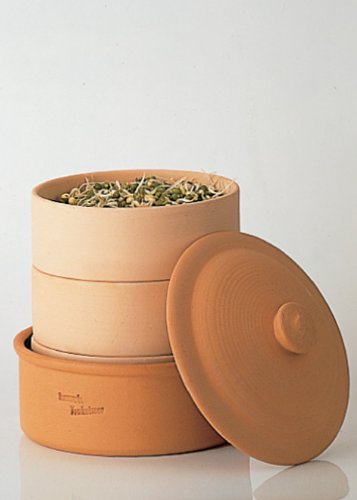
Sprouts are a fantastic, nutritious, and easy-to-grow food that can be cultivated indoors all year round. Rich in vitamins, minerals, and enzymes, sprouts are a living food source, adding a crunchy and fresh element to your diet. The process is very similar whether you want to grow alfalfa, mung beans, lentils, or broccoli sprouts. This guide will walk you through everything you need about growing sprouts at home, from choosing the right seeds to harvesting your crop.
Why Grow Sprouts?
Before we jump into the “how,” it’s important to understand the “why.” Here are some of the benefits of growing sprouts:
- Nutrient Density: Sprouts are rich in vitamins A, C, and K, and provide a good source of iron, calcium, and protein.
- Cost-Effective: Growing sprouts is inexpensive. A small amount of seed can yield a large quantity of fresh sprouts, making it budget-friendly.
- Quick Growth: You can harvest fresh sprouts in just 4–7 days, making them one of the fastest-growing crops.
- Space Saving: Since sprouts are grown indoors, they require very little space, making them perfect for apartments or small kitchens.
Now, let’s get started on the practical side of things!
Step 1: Choosing Your Sprout Seeds
The first and most crucial step in growing sprouts at home is selecting the right seeds. Not all seeds are suitable for sprouting, so you’ll need to buy specifically labeled sprouting seeds. Common choices include:
- Alfalfa: Known for its mild flavor and high nutrient content, alfalfa is one of the most popular sprouting seeds.
- Mung Beans: These are commonly used in Asian dishes and taste slightly nutty.
- Broccoli: Rich in antioxidants, broccoli sprouts are known for their health benefits, particularly their high sulforaphane content.
- Lentils: Lentil sprouts are crunchy and protein-rich, making them a great addition to salads and sandwiches.
- Radish: These sprouts have a spicy flavor, similar to mature radishes.
Broccoli, Alfalfa, Radish, Mung beans & Salad Mix for Sprouts and Microgreens
Where to Buy Sprouting Seeds
You can purchase sprouting seeds online or from health food stores. Ensure they are labeled “organic” and “non-GMO,” as these are safer and healthier options.

Step 2: Equipment You’ll Need
Growing sprouts requires very little equipment, but the right tools will make the process easier and more hygienic. Here’s what you’ll need:
- A Sprouting Jar or Tray: The most common choice is a mason jar with a mesh lid, but sprouting trays are also available, especially for larger quantities.
- Cheesecloth or Mesh Screen: If you’re using a jar, you’ll need a breathable cover to allow air in while keeping the seeds contained.
- Water: Sprouts must be rinsed several times a day, so access to fresh, clean water is essential.
- A Bowl: This is to catch water as it drains from the jar after rinsing.
- A Dark Space: Many sprouts need to begin their growth in a dark or shaded area to mimic
soil conditions.
Step 3: Soaking the Seeds
Soaking is the first step in the sprouting process, and it’s crucial to jump-start the growth cycle. Here’s how:
- Measure the Seeds: Start with 1–2 tablespoons of seeds for a typical mason jar. They will expand significantly, so don’t overdo it.
- Rinse the Seeds: Place the seeds in your sprouting jar and rinse them thoroughly under cold water to remove dust or contaminants.
- Soak the Seeds: Fill the jar with enough water to cover the seeds by at least 2 inches. Leave them to soak for 8–12 hours (overnight is ideal). Larger seeds like mung beans may need a longer soak, while smaller seeds like alfalfa need less time.
Why Soak?
Soaking softens the seed coat and starts the germination process. It’s critical because it “wakes up” the seed, initiating growth and activating the rich enzymes and nutrients inside.
Step 4: Rinsing and Draining
Once the seeds have soaked, it’s time to begin the rinsing and draining process. This must be done twice a day to keep the seeds moist but not waterlogged.
- Drain the Water: After soaking, drain the water from the jar using your mesh screen or cheesecloth. Be sure to shake out any excess water.
- Rinse the Seeds: Rinse the seeds with fresh water and drain again. This helps keep them moist and removes any toxins or waste products they release during growth.
- Repeat Twice Daily: Place the jar at an angle in a bowl, with the mouth facing downward to allow any remaining water to drain. Rinse and drain the seeds every 12 hours.
Why Rinse Regularly?
Rinsing is crucial to keep the sprouts clean and free from mold or bacteria. It also provides the moisture they need to grow while preventing them from becoming too wet, which could cause rot.
Step 5: Sprouting Time!
After a few days of rinsing and draining, you’ll notice tiny sprouts beginning to emerge from the seeds. Depending on the seed variety, here’s what to expect:
- Day 1-2: Seeds start to split open, and small roots will emerge.
- Day 3-4: The sprouts will grow larger and take shape. You can expose the jar to indirect light at this stage to help the sprouts turn green.
- Day 5-7: Most sprouts will be ready for harvest. They should be around 1-2 inches long and will have developed small leaves.
Step 6: Harvesting Your Sprouts
It’s time to harvest once your sprouts have grown to your desired length. Remove the sprouts from the jar and give them a final rinse. Dry thoroughly by spreading them out on a paper towel or using a salad spinner to remove excess moisture.
Storage Tips
Place your sprouts in an airtight container in the refrigerator to store them. Fresh sprouts should last about a week. Make sure they are completely dry before storing them to prevent mold.
Broccoli, Alfalfa, Radish, Mung beans & Salad Mix for Sprouts and Microgreens
Common Problems and Solutions
Growing sprouts is generally easy, but you may encounter a few issues. Here’s how to troubleshoot common problems:
- Mold: If your sprouts develop mold, it’s often due to inadequate rinsing or poor drainage. Make sure you rinse twice a day and allow the jar to drain properly.
- Slow Growth: If your sprouts grow slowly, they may need more warmth. Try placing them in a slightly warmer spot in your kitchen, but avoid direct sunlight.
- Bitter Sprouts: Overexposure to light can cause some sprouts, like alfalfa, to become bitter. If this happens, limit their time in direct light.
Enjoying Your Homegrown Sprouts
The possibilities are endless once you’ve harvested your fresh batch of sprouts! Sprouts can be added to:
- Salads
- Sandwiches and wraps
- Stir fries (for firmer sprouts like mung beans or lentils)
- Smoothies
- Soups
Sprouts are incredibly versatile, and because they grow quickly, you’ll never be short of fresh greens for your meals.
Final Thoughts
Growing sprouts at home is a fun, inexpensive, and rewarding way to add nutrient-dense foods to your diet. The process is simple, requiring only a small amount of time and equipment. Best of all, you can grow them year-round, regardless of your outdoor gardening space or the weather outside. By following these basic steps, you’ll be able to enjoy fresh sprouts in no time, all from the comfort of your kitchen!


