Compose can be considered a commodity for gardeners. After all, they can use it as a natural fertilizer to increase their
As a gardener myself, I normally use compost during the planting season as it allows me to enjoy a bountiful harvest. The best part about this is that you can actually create your own, and it doesn’t have to be that expensive or complicated at all.
In this guide, we’re going to talk about how to compost in a bucket along with a few other composting tips which can surely help you along the way.
What You Will Need:
To start, you need to procure the following:
- A bucket (preferably a 5-gallon bucket with a lid)
- Kitchen waste (kitchen scraps, eggshells, coffee grounds, fruit peelings, etc.)
- Compostable materials (paper, cardboard, straw, dead leaves, etc.)
- Drill
- Dirt
- Small sticks
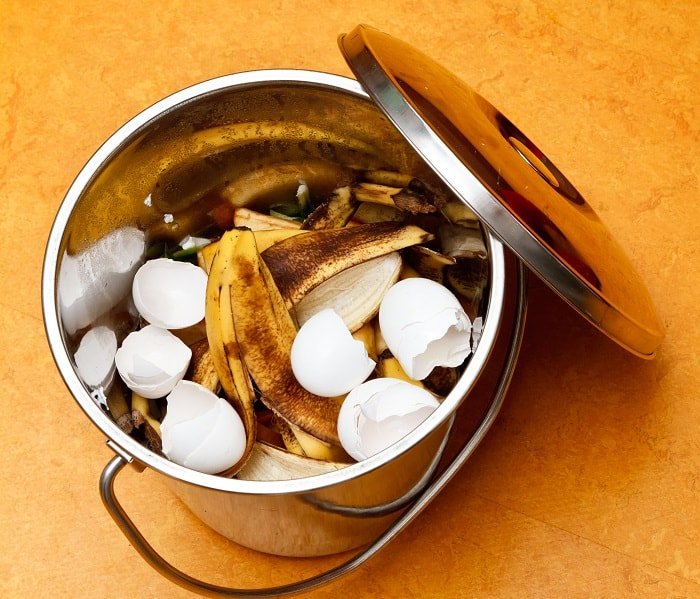
EPICA Stainless Steel Compost Bin 1.3 Gallon with Charcoal Filter
Step-by-Step Instruction
Once you have prepared all of the needed materials, it’s about time to start making your compost in a bucket. Here are the steps you want to follow:
1. The very first thing you want to do is to drill holes in the bucket’s lower half and lid. This will allow the bucket to drain moisture that might be present. If there’s too much moisture in your compost, it will affect its overall quality, and you don’t want that in your garden.
Using your drill, punch around five evenly spaced holes. If you don’t have a drill, you can use a hammer and a nail instead.
2. After that, you want to place small sticks at the bottom of the bucket to prevent clogging the holes with your compost materials.
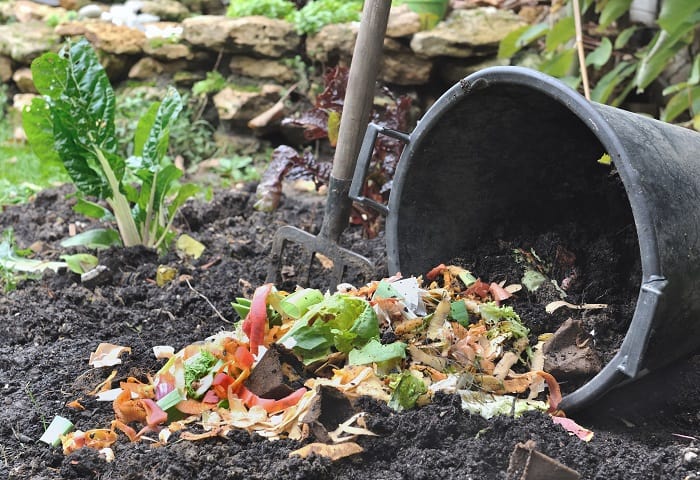
3. Once done, you can start adding your compost materials. These include all your prepared kitchen waste and compostable materials such as fruit scraps, papers, eggshells, etc. However, don’t fill up your bucket, just enough to allow air to circulate around the materials so they can decompose properly.
You can add materials in this order:
- First, add dirt at the bottom
- Second, place paper materials on top of the dirt
- Lastly, add kitchen waste like fruit peelings, eggshells, veggies, etc.
- After you’re done adding all the materials, simply place the lid tightly then roll your compost bucket on the ground. Each time you want to add a compost material into the bucket, make sure to roll or shake it. This will allow proper distribution of moisture, heat, and organic matter which, in turn, can help hasten the process.
- Every week, make sure you stir the compost at least once to aerate the mixture. Of course, don’t forget to put the lid back on to prevent unwanted pests from swarming the compost.
- Once the compost is ready, you can then add it to your compost pile for use in your garden.
Items You Want to Compost
If you’re wondering what items you can add to your compost, we’ve classified them into green and brown materials so you can have a clearer idea:
Green Materials
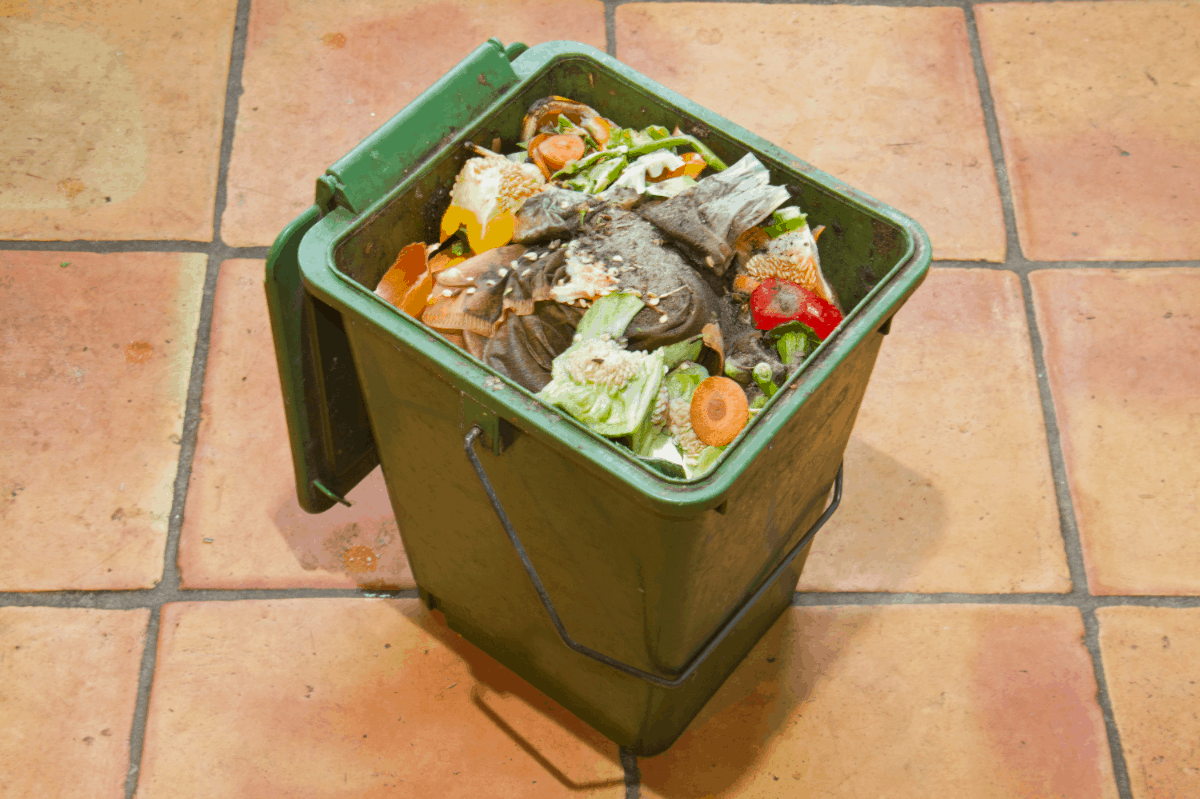
These materials specifically refer to kitchen waste derived from organic items. These include:
- Fruit peelings
- Vegetable scraps
- Eggshells
- Coffee grounds
- Grass clippings

Brown Materials
Brown materials, on the other hand, are still organic items that aren’t necessarily derived from food items. They include the following:
- Paper
- Cardboard
- Brown leaves
- Mulch
- Straw
Note: One thing you want to keep in mind is that green materials generally contain higher nitrogen content than their brown counterparts. Therefore, you want to maintain a 30:1 carbon-to-nitrogen ratio. Since each material can have different nitrogen and carbon levels, using a carbon-to-nitrogen ratio chart surely helps.
Common Composting Issues and their Solutions
As you start composting in a bucket, you’ll normally face a number of composting issues that commonly happen. Fortunately, we have a solution for each of them.
- Pests and Rodents
It’s quite inevitable for rodents and other pests to invade your compost bin, especially when it’s still fresh. Fortunately, you can easily ward them off by going for a solid-side bucket that comes with a lid. You also want to avoid adding dairy, meats, and fat into your compost.
- Smell
Another common issue with composting is the smell. However, you don’t have to worry too much as it can be easily solved. Once your compost bucket starts to stink, you can add dry leaves or newspapers to balance its wet-to-dry ratio.
- Slow Decomposition
Slow decomposition tends to occur if there’s not enough aeration inside your compost. To remedy this, you simply have to stir your pile at least once a week. You can also add small content into your pile to hasten the composting process.
Read more about How to Make a Compost Catalyst
Tips and Tricks
- Don’t add fat, meats, and dairy products into your compost since they can attract unwanted pests.
- You want to avoid adding citrus and onion peels as well since they can end up killing those beneficial microorganisms which can help break down your compost.
- Don’t open the compost bucket so often as it will end up releasing heat. Once it happens, the decomposition process will take even longer.
- Seaweed and algae make excellent composting materials. However, just make sure you rinse off any salts before adding them.

Read more about Can You Compost Weeds? The Challenge Of Successfully Composting Them
FAQ’s
Can you just compost in a bucket?
Yes, it’s possible. You don’t need a special compost bin. You can use a bucket or a bin that you put in the back of your garage or shed. If you use a plastic bucket, make sure to line it with a plastic liner. Plastic is heavier, and the weight helps keep everything in place so you don't have to constantly stir it. The plastic also keeps the worms happy. You can either put paper down first, or not. You want to make sure that the bottom of the bucket is not exposed to moisture, because you don't want to drown your worms! A bucket with holes in it is fine, but you can also get a plastic bin and cut the holes out. I've done this and it works just as well.
Keep in mind that it’s to maintain and keep clean than a proper bin.
Compost buckets are inexpensive and easy to use. Compost bins require more planning and effort to use effectively.
How do you start using a bucket for composting?
The first step in using a bucket as a compost bin is to decide on what kind of material you want to use as compost. Some people prefer to mix their own compost, others like to buy a compost that's already made. You'll also need to determine how much space you have available and the size of your bucket.
The larger the bucket, the more room there will be for the compost to expand. Once you've decided on what type of material you'd like to use as compost, choose a bucket that has a tight-fitting lid or cap. Make sure the lid fits tightly enough to keep out animals and pests but not so tight that it becomes difficult to remove the compost when you're ready to use it.
When using a compost bucket, remember that the compost is an aerobic process, meaning oxygen is necessary to help break down organic matter. The air space in your compost should be kept open, so use the lid only to cover the contents completely when you're not actively working with it. A small amount of air space will prevent the material from becoming too wet or too dry. Compost is a living material that needs to be turned regularly to keep it aerated and to make sure it's properly mixed.
Turn the compost by digging it up, mixing it, and then letting it sit for a few minutes before repeating the process. The compost will continue to decompose as long as it remains loose and moist, so check on it often to see how it's doing.
What should I do if my bucket starts to smell?
If you notice the odor of rotting food or manure, immediately shut off the water supply to the hose. Drain the bucket and remove any food scraps or animal waste. Rinse out the bucket and add new, clean water to keep the compost from becoming too moist.
Conclusion
As you can see, composting in a bucket is a fairly easy and straightforward process. You simply need a bucket with a lid, your composting materials, and a few tools to get started. However, if you want a more organized and neater means of composting, you can opt for a ready-made composting instead. One such product we can recommend is the Keter Composter Bin. It has a 110-gallon capacity, easy assembly, and is made of recycled material.
Hopefully, the guide we’ve provided above can help you create your own DIY composting bucket. Have you tried creating your own composting bin before? If so, were you able to create a successful compost?
Let us know your thoughts by leaving them in the comments below. Thanks for reading!

Josephine is an enthusiastic gardener who loves to spend her spare time tending to her garden. She is passionate about growing her own food, and aspires to one day have her own vegetable garden. Josephine is also an animal lover and often takes in stray cats and dogs. She enjoys spending time with her pets in the garden, and is often seen playing with them or watering her plants. Josephine is an avid reader and enjoys learning about new gardening techniques and plants. She is always looking for ways to improve her garden and make it more beautiful. She is a great friend, always willing to lend a helping hand when needed. Josephine‘s passion for gardening and love of animals make her a wonderful addition to any garden.


