Alfalfa sprouts are usually seen on sandwiches, aisles, and in many salads. Most of us love sprouts too because they add flavor to dishes and come with nutritional benefits. I know you love them also.
I have been moving away from commercial foods recently and trying to grow organic foods that I can harvest fresh off my garden. So while I was eating an alfalfa sandwich the other day, I asked myself if I could grow the sprouts myself. This prompted me to research how to grow alfalfa sprouts and compiled this piece.
Here is How You Can Grow Alfalfa Sprouts at Home
Alfalfa sprouts sprout within one week, and you can easily grow them in a tray or a jar. To begin, you have to find the alfalfa seeds. I buy them at a local food store, but you can also get them from feed stores or online shops.
How to Grow Alfalfa Sprouts Using a Jar
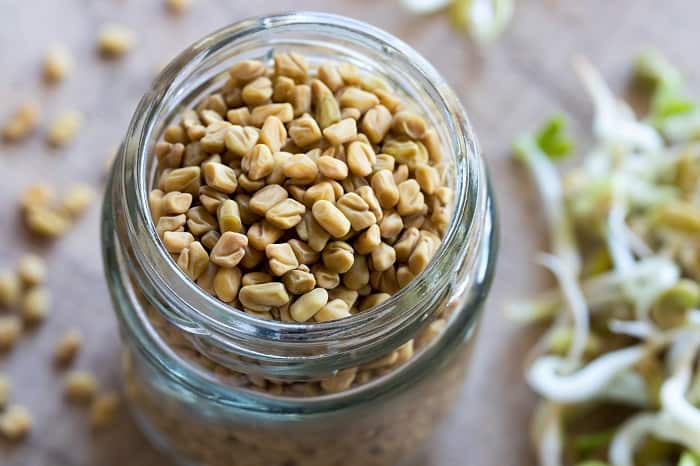
Step 1: Measure one tablespoon of the alfalfa seeds
A tablespoon of the sprouts will sprout about one and a half cups of alfalfa sprouts, which can serve a maximum of two meals.
Step 2: Sort and wash the seeds
Sort out the healthy-looking seeds and rinse them using a mesh sieve or a piece of cheesecloth. Remember to make sure you only wash seeds you plan to sprout immediately.
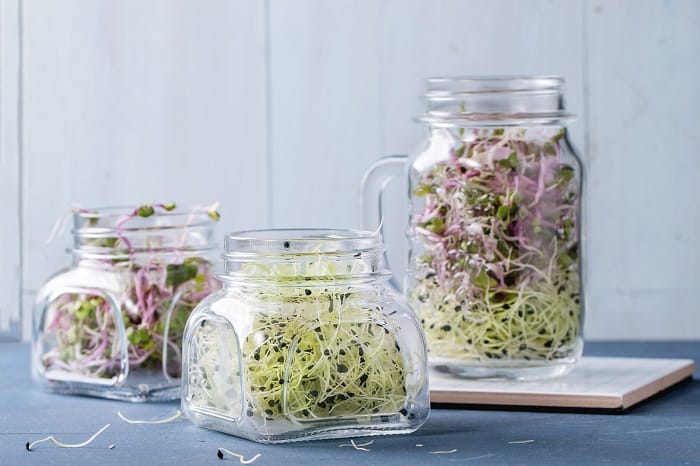
Step 3: Place the alfalfa seeds in a glass jar
Find a flat-sided quart jar; it works best since it can be laid on its side for better circulation.
Step 4: Completely cover the seeds with about 2 inches of cold water
Use a pantyhose or a cheesecloth to cover the jar and secure the cover with a rubber band. The cover will help to hold the seeds in the jar when draining the water.
Step 5: Let the alfalfa seeds soak for at least half a day
You should keep the jar in a dry and warm place.
Step 6: Drain the water in the jar after twelve hours elapse
Do not remove the covering cheesecloth since it will hold the seeds in the jar while you drain out the water.
Step 7: Rinse and drain the seeds
Drain all the water from the jar to prevent the seeds from rotting.
Step 8: Place the jar lying on its side in a dark place
Closets and pantries are great locations since they provide ideal temperatures. Spread the seeds across the base of the jar.
Step 9: Rinse the alfalfa seeds after every eight to twelve hours
Use lukewarm water to rinse the alfalfa seeds and completely drain the water each time. Repeat this step for four days until the seeds sprout to about two inches long.
Step 10: Move the jar into a sunlit area
Spread out the seeds on a dish or platter and place them close to a sunny window for fifteen minutes until the sprouts turn green. Sunlight activates enzymes, which make the sprouts healthy.
Step 11: Store the sprouts in a refrigerator
The cold temperatures slow down the sprouting for up to six days.
How to Grow Alfalfa Sprouts Using a Clay Tray
Step 1: Measure one tablespoon of alfalfa seeds and store the remaining seeds a sealed plastic bag or in the original packaging bag.
Step 2: Sort and rinse the seeds. Sort out the seeds removing any discolored or damaged seed. Place the healthy seeds on a piece of cheesecloth and rinse them.
Step 3: Place the seeds in a jar and soak them with two inches of cold water. Make sure the seeds are completely covered with water then cover the jar with a cheesecloth bound by a rubber band.
Step 4: Place the jar in a dark room and let the seeds soak for twelve hours.
Step 5: Drain the seeds through the cheesecloth. You should drain out all the water to prevent rotting and rinse the seeds again using lukewarm water.
Step 6: Spread the alfalfa seeds over the clay tray. You can use any type of clay tray, but if possible, use a tray with a red terra cotta. Spread the seeds to cover the base of the tray evenly.
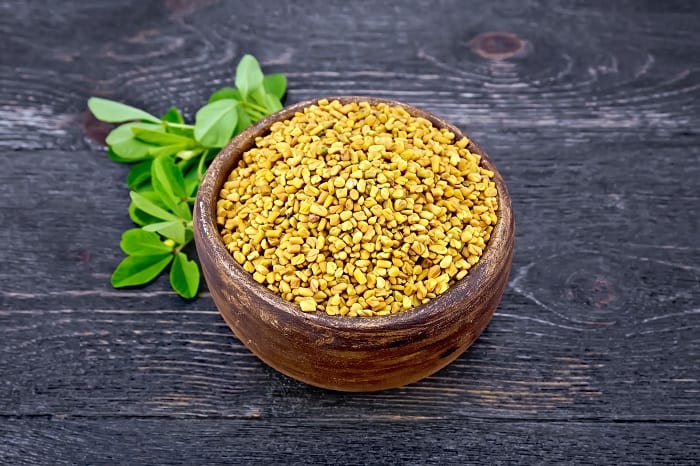
Step 7: Place the tray on a bigger pan with water. The water in the pan should cover the tray halfway up, but make sure the water does not spill into the tray.
Step 8: Place the pan and tray in a dark location and leave the seeds to sprout. The clay tray absorbs moisture from the pan that helps the seeds to sprout. I love this method since there is no need to rinse the seeds every few hours.
Step 9: Refill the pan for four to five days. Check on the level of water in the pan and refill accordingly. The seeds will not sprout if the pan runs out of water for the seeds to absorb.
Step 10: Place the tray in the sunlight when the sprouts reach two inches in length. Let the sprouts stay in the sunshine for about 15 minutes to activate essential enzymes. The sprouts are ready to eat when they turn green.
Both processes yield fresh and organic sprouts. The method to use solely lies on your preference or interest.
You can remove the hulls from the sprout if you like or leave them since they are also edible. Fresh sprouts taste the best, but if you plan to eat them later, you can store them in a dry plastic bag and refrigerate them.
FAQ’s
How long does it take to grow alfalfa sprouts?
The answer depends on how you start your sprouts. If you buy a sprouting kit, it takes about five days for the seeds to sprout. If you grow them from seed, it will take four to six weeks. Which is the better way to grow sprouts? Both methods have their pros and cons. With the kit, there are no worries about soil conditions or temperature.
You can purchase an inexpensive kit that usually comes with a sprouter, but you can also just put your sprouts in a glass jar with a lid. If you want to grow sprouts from seed, start them in an indoor potting soil. Sprinkle the seeds over the surface of the soil and place the pot in a warm location, such as a sunny window. Keep the sprouts moist, but don’t let the soil become too wet.
You should see sprouts emerging after two weeks. The easiest way to keep your sprouts fresh is to store them in a plastic bag in the refrigerator. But if you live in a warm climate, you might want to take them outside. If you do, make sure you have some type of cover for the sprouts. A screen works well because it keeps out the bugs and wind. Sprouts are nutritious and packed with protein, fiber, vitamins, minerals and antioxidants. The nutrients in alfalfa sprouts are especially beneficial for children and pregnant women. Sprouts are also a good source of iron and zinc. They also contain calcium and magnesium. Alfalfa sprouts are high in antioxidants, which help prevent cancer and other diseases. A study by the University of Illinois found that alfalfa sprouts contained about 1.5 milligrams of the antioxidant glutathione per gram of sprout.
Do I need to wash alfalfa sprouts?
Do I need to wash alfalfa sprouts?
Alfalfa sprouts are a great source of nutrients and fiber. The sprouts are harvested when the sprouts are still small, and have a tender texture. Alfalfa sprouts can be eaten raw or cooked. Sprouts should be kept in the refrigerator because they spoil easily.
Sprouts will lose their crispness if stored for too long, so it is recommended that you use them within 3-5 days of purchase. How to cook alfalfa sprouts? Alfalfa sprouts are a great source of protein and vitamins. To make sprouts, first rinse the sprouts under cold water.
Then, drain the sprouts and cut them into halves or quarters. For a side dish, cook the sprouts in boiling water for about 1 minute or until tender. For a main dish, steam the sprouts in a steamer or on a wok-style pan with lid. You can also add some salt to enhance the flavor.
What do you do with alfalfa sprouts?
You can make a salad out of them, but that’s pretty much it. But if you think about it, alfalfa sprouts are pretty similar to lentils in that they don’t really have an established culinary identity in the U.S., and while both have a long history as an ingredient in Asian cuisine, they are mostly unknown here.
Conclusion
With the above steps, you can enjoy fresh alfalfa sprouts straight from your home. Both methods work well, and it all comes down to what equipment is available to you. I would recommend trays such as the hawos Terracotta Sprouter Clay Sprouting Pot if you are using the clay tray method, or you can try Ball Quart Jar with Silver Lid if you are using the jar method.
Leave a comment if you have any questions and I will gladly respond.


